Minimalistic SwiftUI GUI for Yt-dlp
Introduction
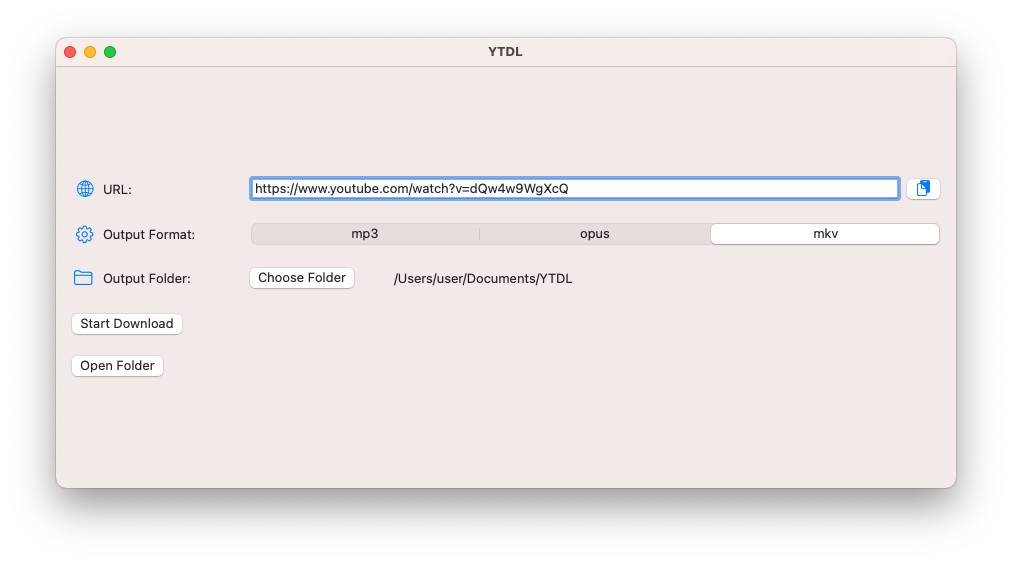
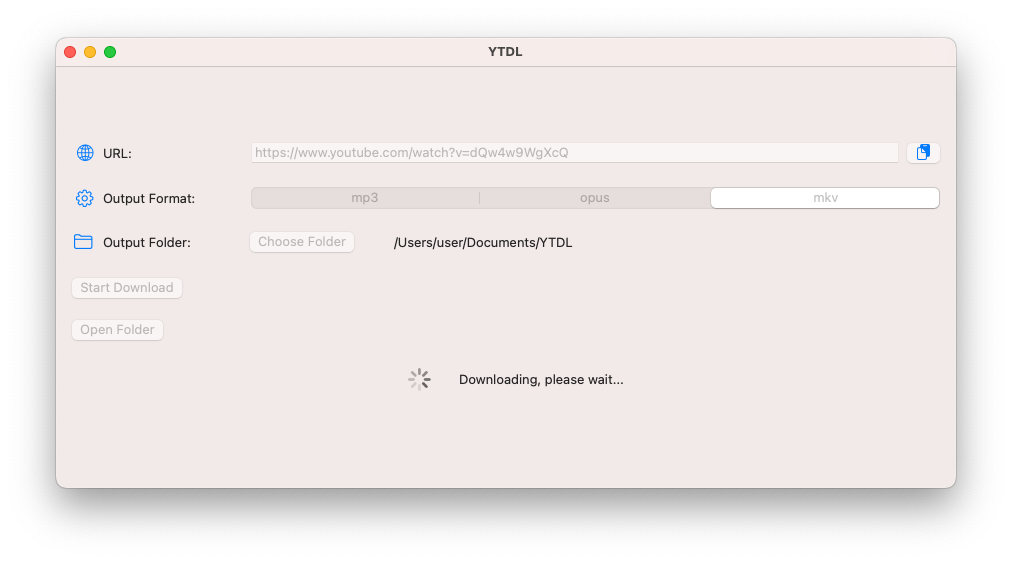
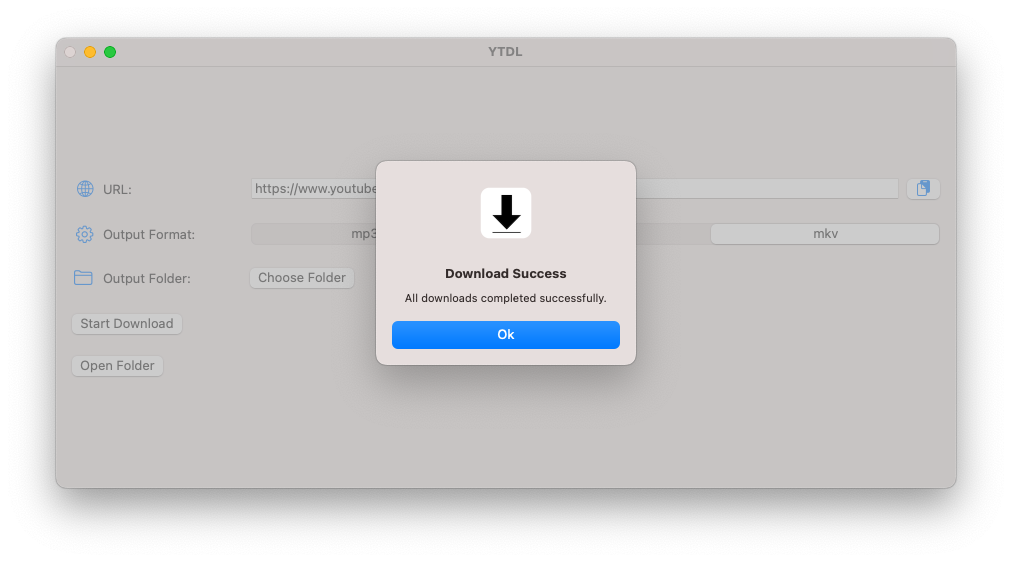
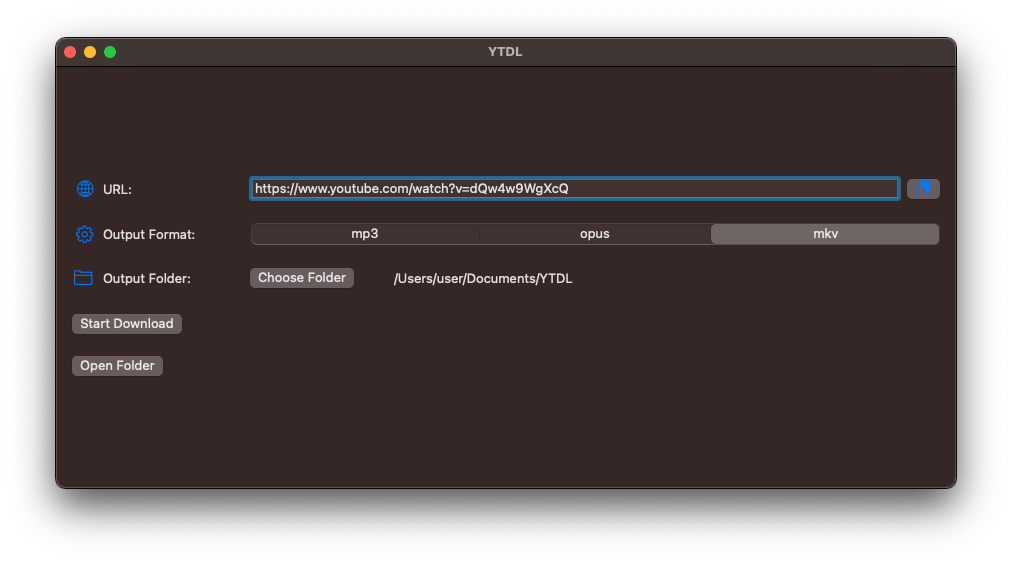
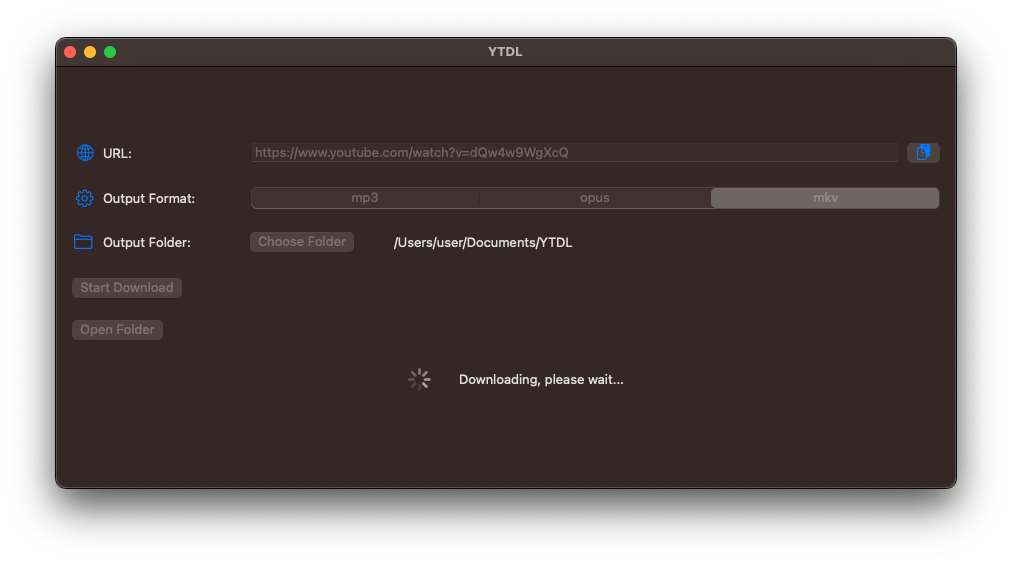
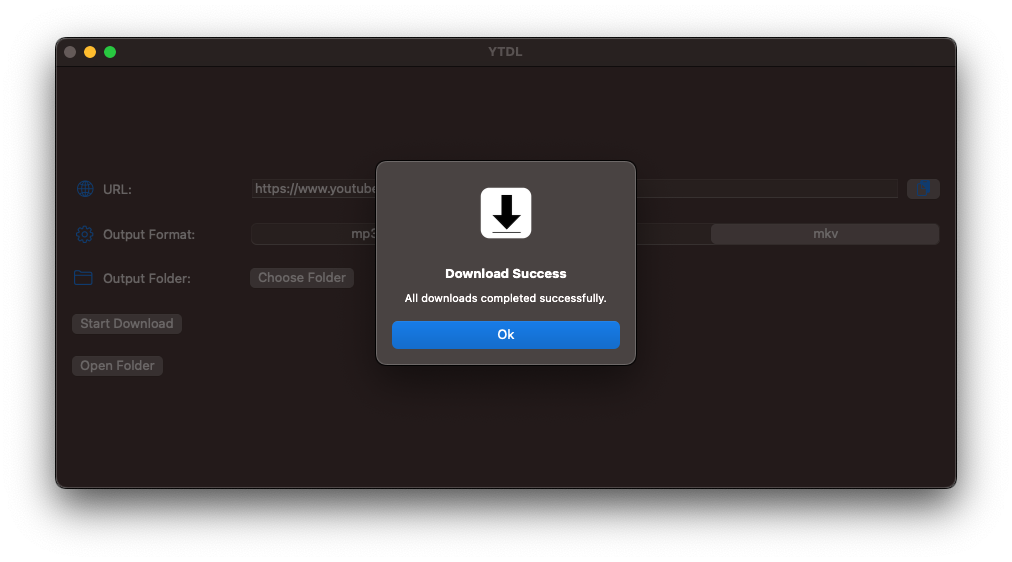
Yt-dlp and ffmpeg and two of my favorite command-line tools. But I keep having to look up how to use them! For this reason, I made a simple SwiftUI GUI that has three simple commands built-in. The user only has to choose and output folder and a file type (mp3 [audio only], opus [audio only] and mkv [audio and video]) and click the download button. The binaries for yt-dlp and ffmpeg are downloaded from the most official sources I could find at runtime. My GUI is open-source and available at my GitHub repo, but you have to build it yourself in Xcode. It supports light/dark mode (system setting) and is designed to be as minimalistic as possible.
Screenshots
Conclusion
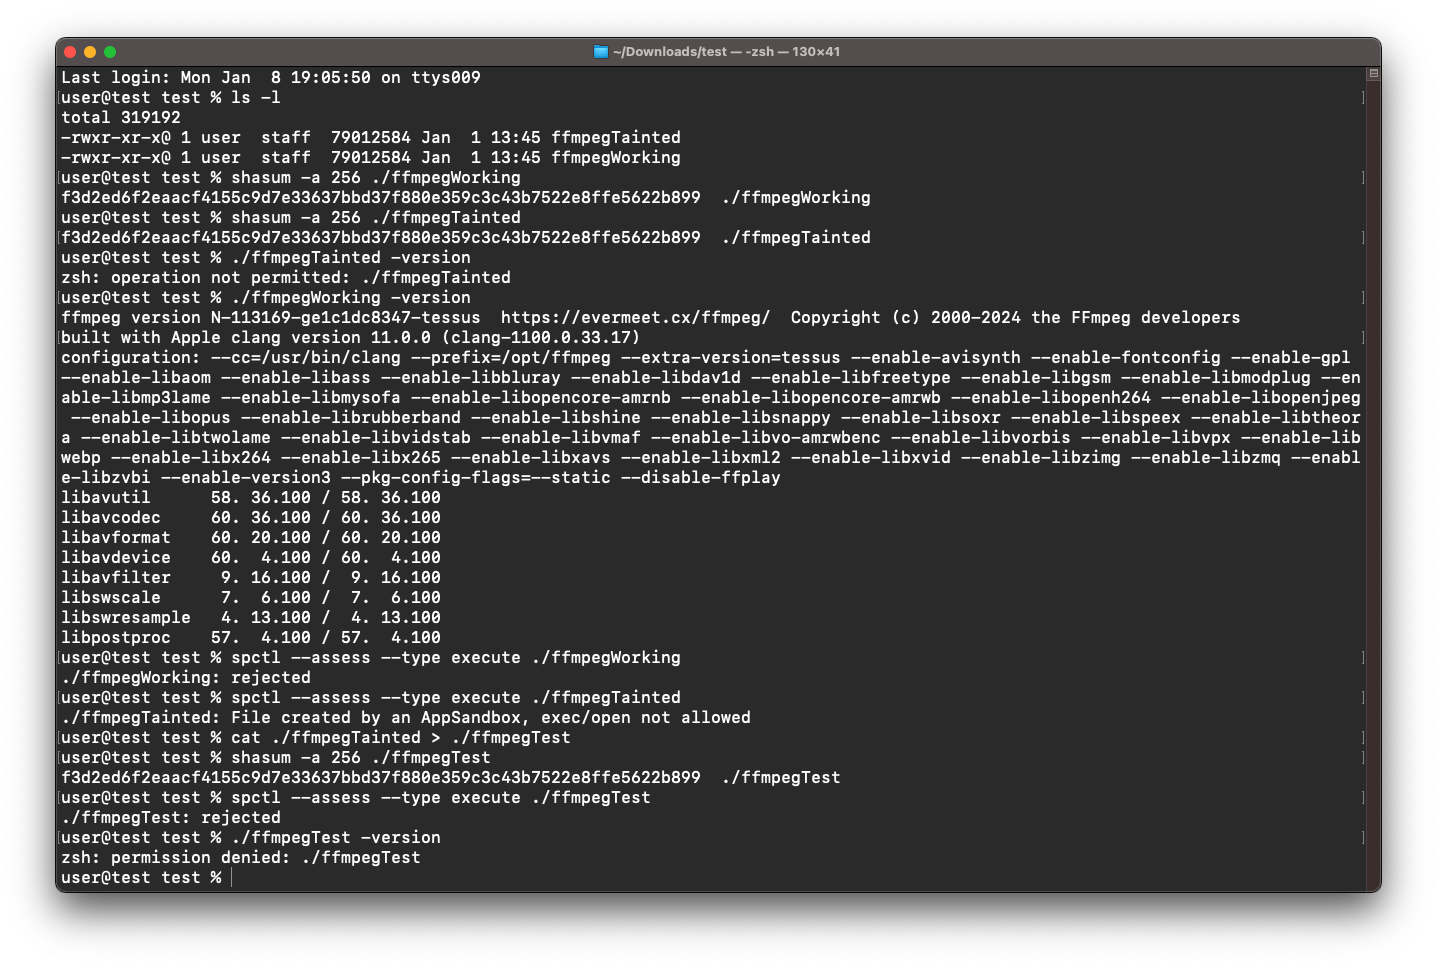
In just a few lines of code, you can make nice looking GUIs on macOS. I did this project to get a bit better at basic SwiftUI, and it was lots of fun! The main challenge was sandboxing which is required if anyone would want to publish a macOS app on the App Store (which I do not intend as it makes use of ffmpeg with its complicated LGPL license and various codecs etc.): I disabled sandboxing, because you are not allowed to run a binary (e.g. yt-dlp) at runtime, if the sandbox created this binary (e.g. by downloading). This was not obvious to me, as the hash of the binary was the same as if you had normally downloaded. But macOS keeps track of which files the sandbox touches and then does not allow execution of these files. Only the command
spctl --assess --type execute ./filename
gave the info I needed: “File created by an AppSandbox, exec/open not allowed”. I did not even know that this is a thing, as the hash and file permissions of the binary are the same as if you had downloaded outside the sandbox. The difference only becomes clear when you run
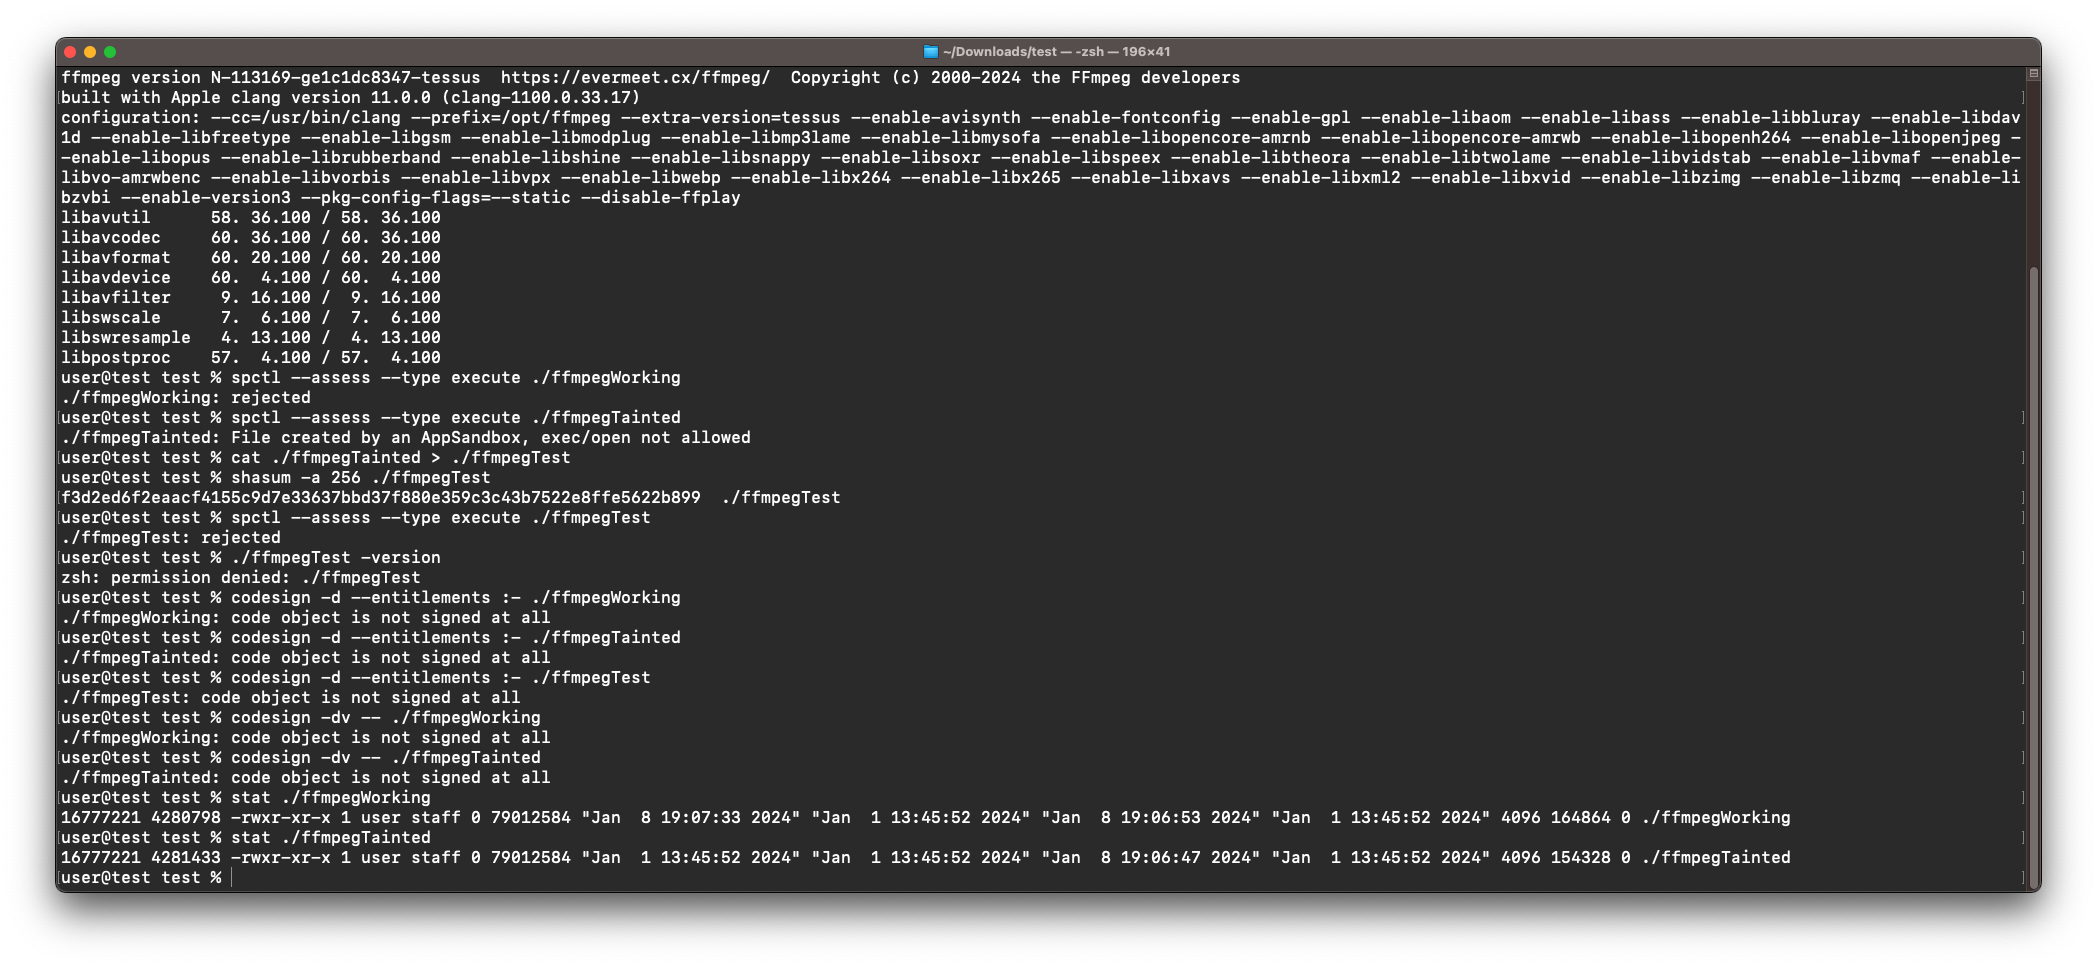
stat ./filename
on the binary that the sandbox downloaded and the binary that you downloaded manually. Only then, you can see that the inodes are different (unique identifier that macOS uses manage the file’s metadata). Running
shasum -a 256 ./filename
will result in the same hash for both files, so macOS remembers which files were created/affected by a sandboxed app and places restrictions on these files. After removing the sandbox permission (which I do not need for private use), everything worked perfectly. Below you can see some testing I did:
I did learn a lot about sandboxing on macOS (in fact it took more time than writing the actual GUI code) but it was interesting to learn something new. I know that you can bundle/embed the binaries into the application, but then I would have to distribute the binaries myself, which I want to avoid. All in all, a cool project with a resulting program that I am already frequently using! :)